通过 qemu 在 x86 上实现全系统模拟 PowerPC
某软件开发过程中,需要参考 PowerPC 架构代码,但并没有 ppc 架构的机器环境,VMware 只能模拟同架构的 OS,而想要模拟不同架构,进行跨架构开发的话只能通过 qemu 进行模拟。本文记录了在 Linux 和 Windows 两种环境下实现过程:在 Windows 通过 VMware 建立 Ubuntu18.04 虚拟机,然后在 Ubuntu18.04 下用 qemu 实现全系统模拟 PowerPC;或者直接在 Windows 下用 win-64bits 的 qemu 来实现,两种方法都可行。
Ubuntu18.04 搭建过程
安装 qemu
1 | sudo apt-get install qemu |
下载 ppc 镜像
Ubuntu16.04.6 之后的版本不再支持 ppc 架构,这里使用最后一个发行版 ubuntu-16.04.6-server-powerpc.iso,下载地址:
https://mirrors.tuna.tsinghua.edu.cn/ubuntu-cdimage/releases/16.04/release/ubuntu-16.04.6-server-powerpc.iso
生成硬盘镜像
1 | qemu-img create -f qcow2 ubuntu16.qcow2 60G |
安装系统
1 | qemu-system-ppc -L pc-bios -boot d -M mac99 -m 1024 -net nic,model=sungem -net user -hda ubuntu16.qcow2 -cdrom ubuntu-16.04.6-server-powerpc.iso |
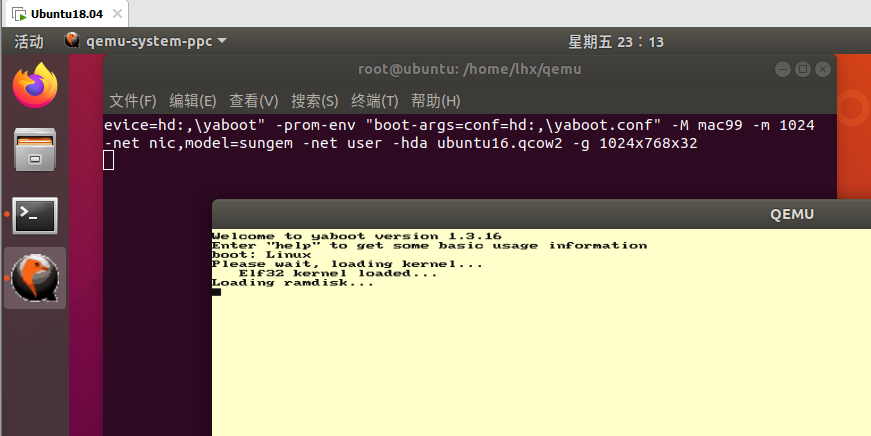
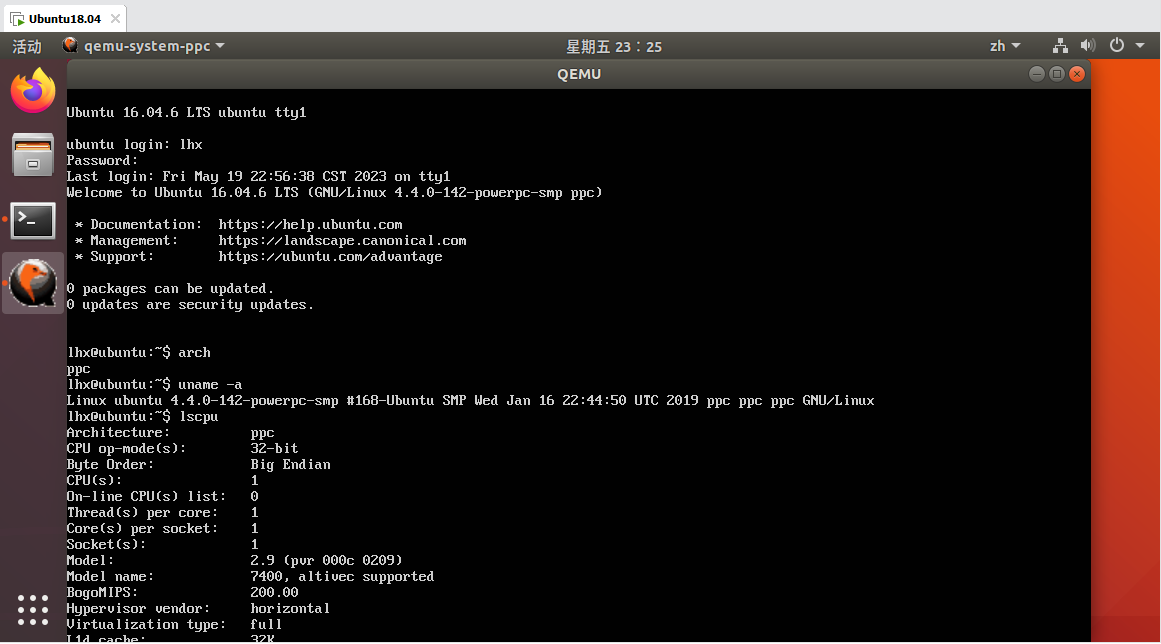
开始运行
1 | qemu-system-ppc -L pc-bios -boot c -prom-env "boot-device=hd:,\yaboot" -prom-env "boot-args=conf=hd:,\yaboot.conf" -M mac99 -m 1024 -net nic,model=sungem -net user -hda ubuntu16.qcow2 -g 1024x768x32 |
效果图
Windows10 搭建过程
安装 qemu
qemu 官网已经支持 Windows,并提供了二进制工具集,直接下载二进制使用最为方面。QEMU Binaries for Windows (64 bit) 下载地址:
https://qemu.weilnetz.de/w64/
方法一:复制 Linux 硬盘镜像
如果已经在 Ubuntu Linux 环境下成功安装了 ppc 系统,可以直接把 ubuntu16.qcow2 镜像文件复制到 Windows 环境下使用。
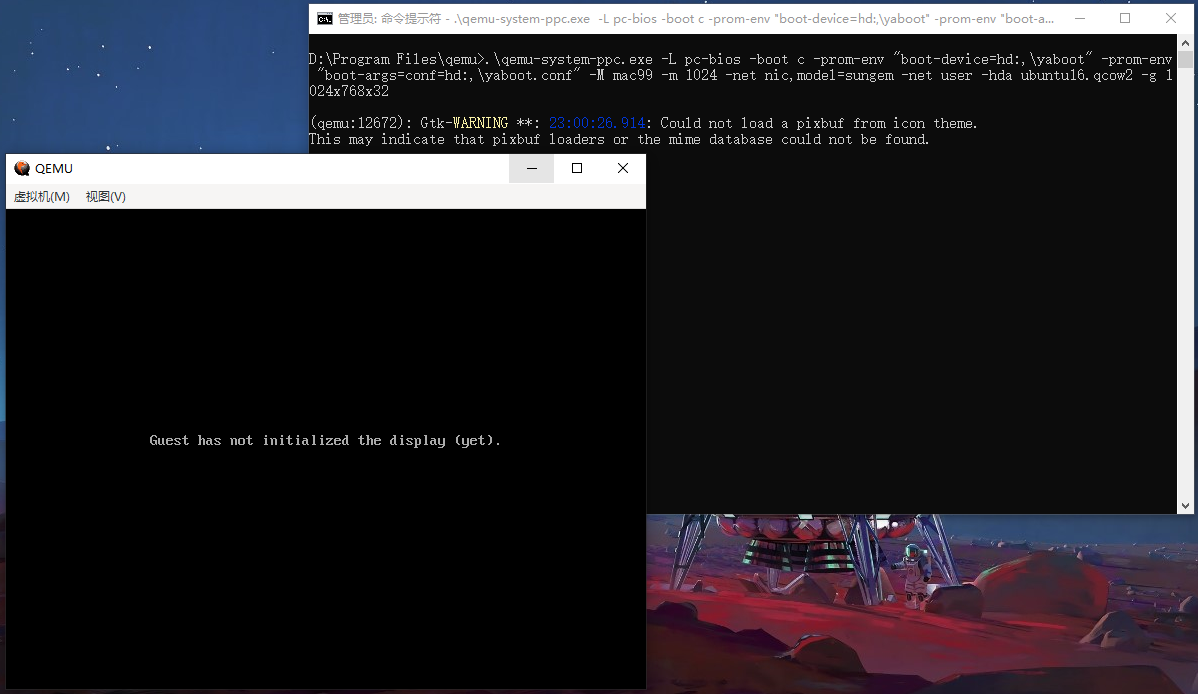
进入 qemu 二进制存放目录,在 Windows 命令行下运行:
1 | .\qemu-system-ppc.exe -L pc-bios -boot c -prom-env "boot-device=hd:,\yaboot" -prom-env "boot-args=conf=hd:,\yaboot.conf" -M mac99 -m 1024 -net nic,model=sungem -net user -hda ubuntu16.qcow2 -g 1024x768x32 |
方法二:参照 Ubuntu 搭建过程从零开始
Windows 环境搭建过程和 Ubuntu 搭建方法一样,只是记得把命令中的 qemu-system-ppc 换成.\qemu-system-ppc.exe。
三步走:
- 生成硬盘镜像
1 | .\qemu-img.exe create -f qcow2 ubuntu16.qcow2 60G |
- 安装系统
1 | .\qemu-system-ppc.exe -L pc-bios -boot d -M mac99 -m 1024 -net nic,model=sungem -net user -hda ubuntu16.qcow2 -cdrom ubuntu-16.04.6-server-powerpc.iso |
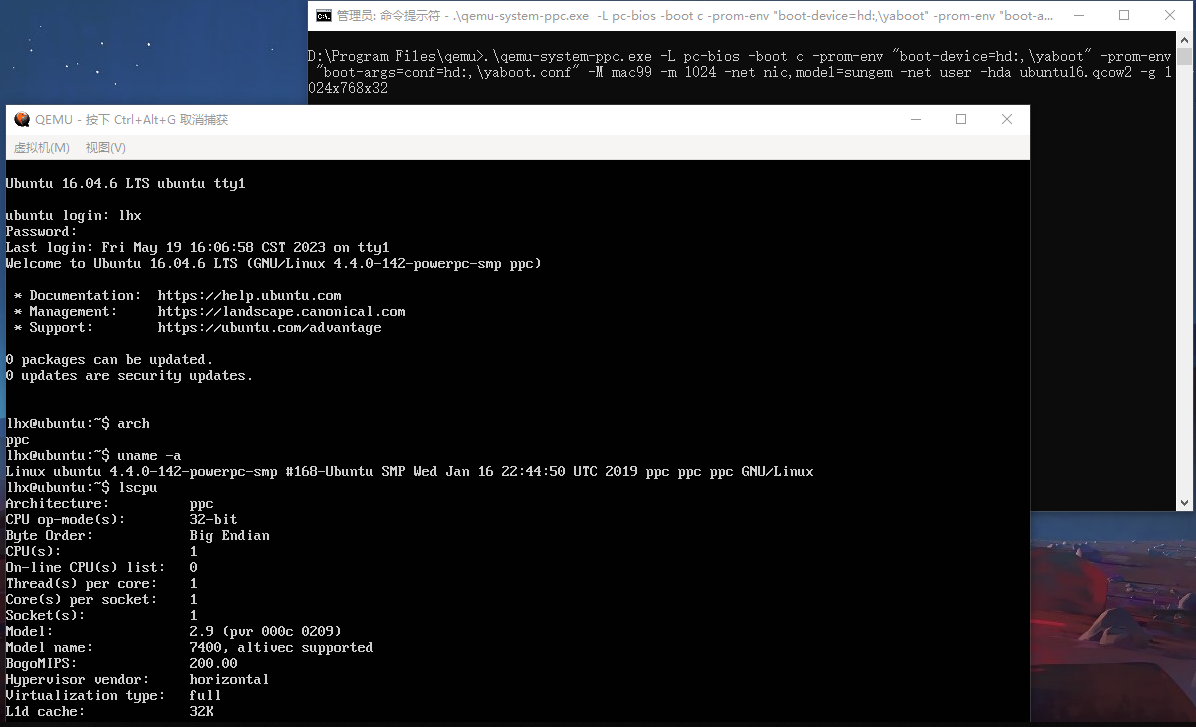
- 开始运行
1 | .\qemu-system-ppc.exe -L pc-bios -boot c -prom-env "boot-device=hd:,\yaboot" -prom-env "boot-args=conf=hd:,\yaboot.conf" -M mac99 -m 1024 -net nic,model=sungem -net user -hda ubuntu16.qcow2 -g 1024x768x32 |
效果图
参考资料
一开始查阅的中文教程,实操过程中出现各种问题,然后 google 上用英文搜索后,发现了一些英文靠谱的教程,一试便成功了。参考的是 GitHub 上 ross-newman 大佬给出的方法:
https://gist.github.com/ross-newman/a744988b298ea1ad47c5dae1baafcb22
Building PPC Linux code using QEMU on Ubuntu 18.04 LTS:
1 | !/bin/bash |